Cute Vampire 3D Paper Cut Light Box Guide
Halloween decor often leans heavily into the terrifying, the gory, or the overly commercial. However, there is a growing movement among crafters and designers to embrace the "spooky cute" aesthetic—a style that balances eerie themes with approachable, charming design. The Cute Vampire 3D Paper Cut Light Box sits perfectly at this intersection. It is not merely a decoration; it is a layered artistic project that transforms flat cardstock into a dimensional scene, bringing an adorable Mr. Vampire to life through shadow and light.
This project represents a shift in how we approach seasonal crafting. Instead of buying mass-produced plastic figures, creators are turning to digital cutting files to produce bespoke art pieces. With ten distinct layers, this shadow box offers depth and narrative, allowing light to filter through specific cutouts to create dramatic silhouettes and soft glows. Whether you are a hobbyist looking for a weekend project or a small business owner seeking unique inventory, understanding the mechanics and creative potential of this design is essential.
The Mechanics of Dimensional Paper Art
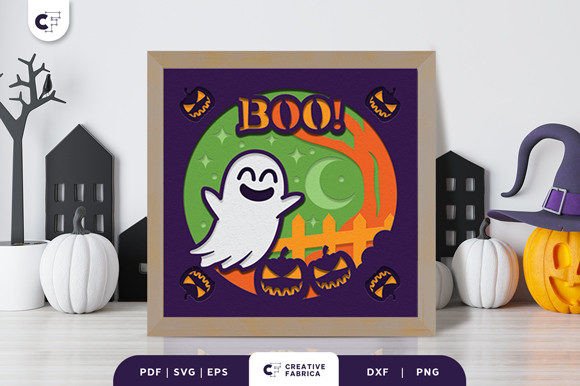
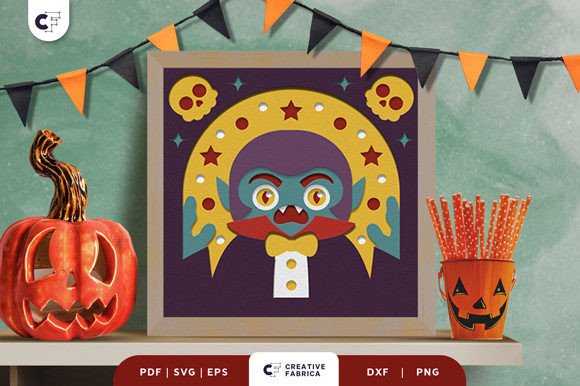
At its core, the Cute Vampire 3D Paper Cut Light Box relies on the principle of parallax and layering. The design includes ten separate layers, each contributing to the final image. When assembled within a frame measuring 20.32×20.32 cm, these layers create a tunnel effect that draws the viewer's eye toward the central character. The magic happens when a light source is placed behind the final layer, illuminating the negative space and casting shadows that define the features of the vampire and his surroundings.
To execute this project successfully, precision is key. The files are typically provided in versatile formats such as SVG, PDF, EPS, PNG, and DXF, ensuring compatibility with various digital cutting machines like Cricut or Siser. These formats allow users to scale or modify elements if needed, though the original proportions are optimized for the specified frame size. The assembly process requires patience and the right adhesives. Using PVA Glue for flat connections and 3D Tape for spacing between layers ensures that the depth remains consistent and the structure stays rigid.
Material selection significantly impacts the final look. For optimal results, many professionals recommend using Encore Cardstock 80 lb cover (216 gsm). This weight is substantial enough to hold its shape without warping under the heat of the light source, yet thin enough to be cut cleanly by standard die-cutting machines. Heavier paper might block too much light, while lighter paper may buckle. Consistency in paper texture and color is vital; even slight variations can disrupt the visual flow of the ten layers.
Creative Applications Beyond Seasonal Decor
While the immediate application of the Cute Vampire 3D Paper Cut Light Box is Halloween home decor, its utility extends far beyond a single holiday. Creative professionals and educators can adapt this concept for various contexts, turning a simple craft file into a versatile tool for storytelling and design.
- Educational Storytelling: Teachers and homeschooling parents can use the layering technique to teach narrative structure. Each layer of the vampire box can represent a different part of a story—setting, character introduction, conflict, and resolution. Students can design their own layers to change the plot, learning about sequencing and visual literacy.
- Small Business Product Lines: Makers selling on platforms like Etsy can use this design as a base for customization. By swapping the central character or changing the color palette from traditional orange and black to pastels or monochrome, sellers can create year-round "nightlife" themed decor or party favors for gothic-themed weddings.
- Marketing and Branding: Agencies can utilize 3D paper cut aesthetics for social media content. A time-lapse video of assembling the Adorable Mr. Vampire creates engaging visual content that highlights craftsmanship, appealing to audiences who value handmade quality over factory production.
- Therapeutic Art Projects: The repetitive nature of cutting, layering, and gluing offers a meditative benefit. Art therapists might suggest this project to clients needing to focus on fine motor skills or seeking a calming, structured creative outlet.
Adapting the Design for Different Audiences
The beauty of digital cut files lies in their adaptability. A designer working for a children's brand might soften the vampire's features further, using bright primary colors and rounded shapes to make the Cute Vampire 3D Paper Cut Light Box suitable for a nursery. Conversely, a boutique hotel might opt for a sophisticated version, using black cardstock with gold foil accents to create an elegant, moody atmosphere for a lobby display.
For bloggers and content creators, this project serves as an excellent case study in DIY trends. Writing a tutorial on how to assemble the box allows creators to demonstrate expertise in crafting tools, material science (paper weights and adhesives), and interior styling. It provides tangible value to readers looking for actionable projects rather than vague inspiration.
When adapting the design, consider the lighting environment. The final product's appearance changes drastically based on the light source. Warm LED lights enhance the cozy, cute vibe, while cool white lights can make the shadows sharper and more dramatic. Users should experiment with battery-operated puck lights versus plug-in strips to determine which best suits their display location. Remember that the images seen online are for preview purposes; the final result will depend on your specific paper choice and lighting conditions.
Practical Tips for Professional Results
Achieving a gallery-quality finish requires attention to detail during the assembly phase. Here are practical recommendations to ensure your Cute Vampire 3D Shadow Box looks polished:
- Test Cuts First: Before cutting all ten layers from your premium cardstock, perform a test cut on a scrap piece. This verifies that your blade depth and pressure settings are correct for the 80 lb cover stock.
- Organize Layers Sequentially: As soon as the pieces are cut, arrange them in order from 1 to 10. Misplacing a layer can ruin the depth perception and obscure critical details of the vampire character.
- Consistent Spacing: Use uniform strips of 3D tape for every layer. Inconsistent spacing can cause the paper to bow or create uneven shadows that distract from the main subject.
- Clean Edges: After cutting, gently remove any tiny paper "nibs" or uncut corners with a craft knife. Clean edges are crucial for crisp shadow definition.
- Frame Selection: Choose a deep-box frame that accommodates the thickness of ten layers plus the light source. A shallow frame will compress the art, negating the 3D effect.
The Cute Vampire 3D Paper Cut Light Box is more than a seasonal item; it is a testament to the versatility of paper crafting in the digital age. By combining traditional techniques with modern technology, creators can produce work that is both nostalgic and contemporary. Whether you are crafting for personal joy, educational purposes, or commercial gain, this project offers a structured yet flexible canvas for creativity. Embrace the process, experiment with materials, and let the interplay of light and paper transform a simple vector file into a captivating piece of art.