Crafting Love in Layers: A Guide to the 3D Monster Valentine Candy Dome
In the modern era of digital convenience, there is a profound and growing appreciation for tangible, handcrafted gifts. While store-bought chocolates and generic greeting cards have their place, they often lack the personal touch that signifies true care. This is where the art of paper cutting meets modern technology, creating a bridge between digital design and physical creativity. One of the most delightful intersections of these worlds is the Monster Candy Dome, specifically designed as a Valentine Holder SVG. This project is not merely a craft; it is an experience that allows creators to build a three-dimensional masterpiece from flat sheets of paper.
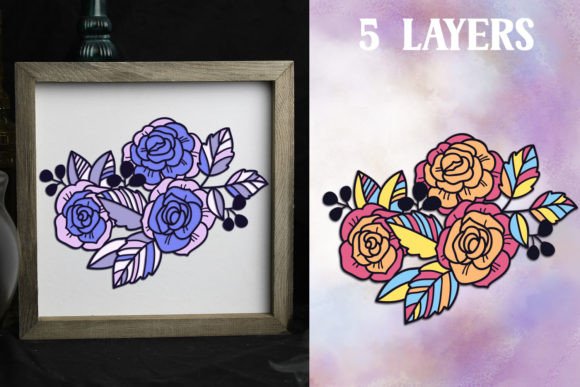
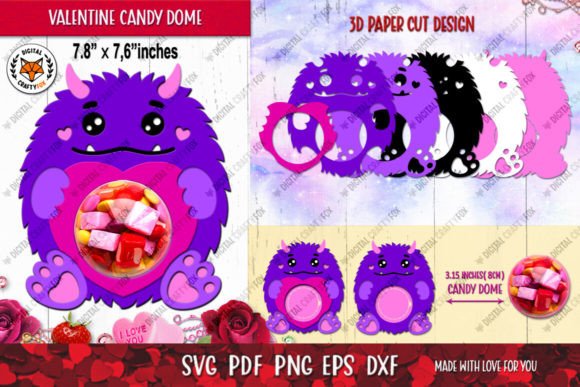
For those new to the world of digital crafting, the concept of a Monster Valentine Candy Dome might seem complex, but it is rooted in accessible techniques that anyone can master with the right tools. At its core, this project utilizes a 3D layered design consisting of six distinct layers. When assembled, these layers create depth, shadow, and a whimsical character that stands out as a super cute candy holder. It serves as a perfect vessel for treats, making it a great gift for a loved one that combines sweetness in flavor with sweetness in design.
Understanding the Technology Behind the Craft
To appreciate the value of this project, one must first understand the file formats involved. When you purchase a digital download for a project like this, you are not buying a physical object immediately; you are buying the blueprint. Upon unzipping the zip folder, you will find a comprehensive suite of files designed to work with various cutting machines and software. This versatility is crucial for both beginners who might use standard home printers and experienced crafters with high-end plotters.
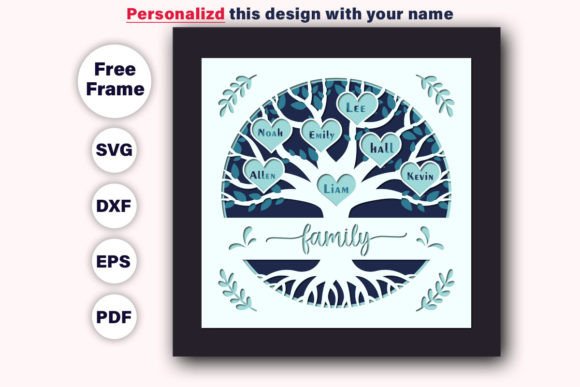
The archive typically includes a robust selection of formats to ensure compatibility:
- 1 DXF file plus separate layers: Ideal for users of Silhouette Studio Basic Edition or other CAD-based cutting software.
- 1 SVG file plus separate layers: The industry standard for web-based cutting machines like Cricut Design Space, allowing for easy manipulation of each layer.
- 1 EPS10 file: A vector format preferred by professional graphic designers using Adobe Illustrator or CorelDRAW.
- 1 PDF file: Perfect for those who wish to print and cut manually or trace the design.
- 6 PNG files: These represent all layers separately at 300 dpi on a transparent background in RGB. They are excellent for digital mockups, sublimation projects, or visualizing the final look before cutting.
The inclusion of separate layers in the SVG and DXF files is what makes the 3D effect possible. Unlike a standard flat image, these files allow the crafter to cut each tier of the monster independently. This separation is the secret sauce that transforms a two-dimensional sheet of cardstock into a volumetric object.
The Significance of Layered Design in Modern Crafting
Why go through the trouble of layering? In the context of paper crafts, layering adds dimensionality that flat printing cannot achieve. The Monster size, which measures approximately 7.8 inches high and 7.6 inches wide, is substantial enough to hold a generous amount of candy while remaining manageable for display on a desk or shelf. Each of the 6 layers contributes to the visual narrative of the monster. The bottom layers might form the base and feet, the middle layers create the body and arms, and the top layers finalize the face and ears.
This technique mimics the style of shadow boxes but utilizes the flexibility of paper. When light hits the assembled dome, the slight gaps between the layers create natural shadows, enhancing the features of the monster. This interplay of light and paper gives the object a life-like quality, making the "monster" appear friendly and inviting rather than scary. It is a prime example of how creativity and technology collaborate to elevate simple materials into art.
Practical Application: From Download to Display
The journey from a digital file to a finished Valentine Holder is a rewarding process that fits seamlessly into daily activities, whether you are a parent looking for a school project, a teacher planning a classroom activity, or a hobbyist seeking a relaxing weekend endeavor. The process begins with the digital download. Since these files are for digital download only, immediate access is granted, allowing for last-minute gift preparation without shipping delays.
- Preparation: After downloading, locate the instruction folder included in the zip archive. These instructions are vital for understanding the assembly order.
- Cutting: Load your chosen cardstock into your cutting machine. Select the appropriate file format (SVG for Cricut, DXF for Silhouette). Ensure you cut all six layers. Using different shades of the same color family can enhance the 3D effect, or you can follow the designer's recommended color palette.
- Assembly: This is where the magic happens. Using foam adhesive squares or rolled paper tabs, stack the layers from largest to smallest. The spacing between layers is critical; too little and the 3D effect is lost, too much and the structure becomes unstable.
- Filling: Once the base and sides are formed, fill the cavity with your favorite candies. Small chocolates, gummies, or wrapped hard candies work best.
- Final Touches: Secure the top layer or lid, and your super cute candy holder is complete.
This hands-on approach fosters a deeper connection to the gift. Unlike buying a pre-made item, the time invested in cutting and assembling conveys a message of dedication. It turns a simple transaction into a memory-making event.
Common Misunderstandings and Clarifications
Newcomers to digital crafting often harbor misconceptions about file compatibility and complexity. A common assumption is that one needs expensive, industrial-grade equipment to use these files. In reality, the variety of formats provided (PDF, PNG, SVG) ensures that even those with basic home printers can participate, perhaps by printing the PDF and cutting with scissors, though a electronic cutter yields the cleanest edges.
Another frequent point of confusion involves the term "layers." Some users expect a single file that automatically cuts in 3D. It is important to clarify that the 3D effect is achieved through manual assembly of the separate cut pieces. The digital file provides the precision-cut shapes, but the crafter provides the dimension. Understanding this distinction empowers the user to take ownership of the final aesthetic, choosing their own adhesives and spacing.
Furthermore, the resolution of the included PNG files (300 dpi) is often overlooked. While primarily for cutting vectors, these high-resolution images are valuable for previewing the project on social media or creating digital invitations that match the physical gift. They offer a realistic representation of the final product before any paper is cut.
The Broader Impact of DIY Gifting
In a fast-paced world dominated by mass production, the act of creating a Monster Valentine Candy Dome serves as a gentle rebellion against disposability. It encourages mindfulness and patience. For educators, this project introduces students to concepts of geometry, spatial reasoning, and following technical instructions. For businesses, offering such digital designs taps into the booming "maker economy," providing customers with the tools to create personalized products.
The emotional resonance of a handmade gift cannot be overstated. When you give a loved one a candy holder that you built layer by layer, you are giving them your time and creativity. The monster motif adds a layer of playfulness, breaking the tension of formal gift-giving and inviting joy. Whether it is for Valentine's Day, a birthday, or just because, the result is a keepsake that is likely to be saved long after the candy is consumed.
If you have any questions regarding the assembly or file usage, remember that support is usually available from the creator. Engaging with the seller can provide additional tips and tricks that enhance the experience. Furthermore, if you liked the product and the clarity of the instructions, taking a moment to rate the store helps the community of crafters identify high-quality resources. Your feedback supports independent designers and encourages the creation of more innovative designs.
In conclusion, the Monster Candy Dome represents more than just a holiday decoration. It is a testament to the power of digital tools to facilitate analog creativity. By bridging the gap between pixels and paper, it allows us to create something truly unique. Whether you are a seasoned pro with a warehouse of cardstock or a beginner holding a pair of scissors for the first time, this project offers a fulfilling path to expressing love through craft. Thank you for visiting and exploring the wonderful world of layered paper art. Have a nice day, and happy crafting!